Conversation List
How To Check The Firmware Version of SimpliSafe® Devices
At SimpliSafe®, we are always working on our devices by releasing firmware and software updates for system-wide and device-specific improvements. If you are ever curious about the firmware that your system and cameras are running, take the steps below.
Checking the Base Station’s firmware
You can view which firmware version your Base Station is running using either the SimpliSafe® Mobile App or Keypad.
Using the SimpliSafe® Mobile App
Open up the SimpliSafe® Mobile App on your smartphone or tablet
Select My System from the navigation bar at the bottom of the screen
Choose Base Station Settings
Next to Firmware, you will see which version your system is running
Using the Keypad
Press the Menu button on your Keypad
Enter your Master PIN
Select System Settings
Scroll down to Diagnostics
Press the right arrow until you see Base Station
Next to Version, you will see what firmware your system is running
Checking a camera’s firmware
You can view your camera’s firmware in the SimpliSafe® Mobile App
Open up the SimpliSafe® Mobile App on your smartphone or tablet
Select My System from the navigation bar at the bottom of the screen
Choose Camera Settings
Select the camera you want to check
Scroll down to the bottom of the screen until you see Basic Info
Next to Software Version, you will see what firmware your camera is running
Related Articles
Help Center Article
•
Base Station
Wireless Outdoor Security Camera Video and Audio Troubleshooting
The Wireless Outdoor Security Camera provides an extra set of eyes outside of your home, to alert you to potential threats before an issue occurs. The following article will walk you through some common issues that may occur, along with the steps you can take to troubleshoot the issues and work towards a resolution.
You may scroll through the article, or select a topic from the list below to navigate directly to that section.
Incomplete Recordings
Incomplete camera recordings can often be a symptom of an underlying network connectivity issue. To rule out any temporary connectivity issues, we recommend rebooting your router - especially if it’s been a while since you’ve done this. To reboot your router, simply unplug it from power for 30-60 seconds, then plug it back in. This will provide a fresh connection for your network devices.
If you’re still having trouble after a router reboot, we’d recommend using the Connection Check Tool found within the SimpliSafe® Mobile App to further analyse your network connectivity.
Delayed Live Streaming or Trouble Live Streaming
To optimise battery life the Wireless Outdoor Security Camera enters a “deep sleep” mode when not in use. When a live stream is initiated, the camera must first wake up and then connect to Wi-Fi to start the stream. This process can take up to 10 seconds.
If you are concerned about this delay or are experiencing a delay longer than 10 to 15 seconds, you can try the below steps to troubleshoot your camera’s Wi-Fi and system connectivity
Move the Base Station closer to the camera
Ensure your Base Station is connected to Wi-Fi
Bring the camera and your internet router close together
If the Camera works in this position, there may have been too great a distance between the devices and you will need to install the camera closer to your internet router
You can also purchase a Wi-Fi extender to extend the range of your Wi-Fi
If the camera still does not connect when it is right next to your router, you may be experiencing Wi-Fi connectivity issues; in this case, you can try to troubleshoot your Wi-Fi connection.
Not Recording or Live Streaming
If your camera is not recording or live streaming, there are three main factors that you can check for - environment, connectivity, and battery.
Environment
The Outdoor Camera’s optimal temperature threshold is -20°C to 50°C. If the camera overheats from high usage and its temperature rises above 48°C, it will shut down in order to protect the battery from damage or catching fire. Once the camera has cooled back down, it will turn back on and resume functioning.
Connectivity
If you have ruled out both battery and environmental issues, you can try to troubleshoot your Wi-Fi connection.
Battery
Remove the battery from the camera
Connect it to power using the in-box USB charging cable
If the three lights on the battery do not all light up, it is not fully charged
The Outdoor Camera charges fully in just 6 hours for a battery life of up to 3 months
Ensure your battery is into the camera with the three metal dots lined up with the metal lines inside the camera and the tab facing out
4. Check to see if the lens of the camera is aligned with the speaker facing down and tightened fully
Camera Does Not Detect People
Our Cameras have a wide field of view to maximise coverage inside and outside of your home. If you find that your camera is not detecting people or motion, there are a few steps you can take to improve its’ functionality.
For the Outdoor Camera, Smart Alarm Wireless Indoor Security Camera, and Video Doorbell Pro, you have three options for controlling motion detection:
To note, SimpliCam Wired Indoor Camera only allows you to control Sensitivity for Motion Detection.
Sensitivity
The sensitivity allows you to control how precise the camera is at detecting motion. We generally recommend setting this to medium for most homes.
Motion Type
This allows you to choose between tracking all motion, and people only. For the Smart Alarm Indoor Camera, we recommend setting this to People Only, especially if you have pets within your home.
Activity Zones
This allows you to configure your camera to track motion within a certain parameter or exclude tracking it for other areas such as a busy street or pavement.
To improve motion detection, open the SimpliSafe® Mobile App and follow these steps:
Choose the Cameras tab at the bottom of the app
Tap on the Gear Icon in the upper right corner
Select your Camera
Tap on Motion Detection
On this screen, you’ll be presented with the option to adjust the sensitivity, motion type, and even set activity zones, depending on your camera.
If your camera is still not detecting people, we recommend resetting it. You can find the steps to reset each of our SimpliSafe® cameras in the Help Centre articles below:
Two-Way Audio Is Not Working
The Wireless Outdoor Security Camera has a Two-Way Audio feature that works with a simple tap of the speaker button, unlike the SimpliCam® indoor camera where you hold the button while talking and release it to hear. Holding down the Outdoor Camera speaker button will not allow the two-way audio to work properly.
In order to test two-way audio, you should stand far away or in another room from the camera and have someone else stand near the camera. This is because the camera will automatically detect and mute any echo it hears, including one caused by the sound looping between the camera and your phone’s speakers.
Videos Not Showing Up in the Timeline
Video recordings are only available to users who are subscribed to select monitoring plans. If you do have a monitoring subscription with recordings and are not seeing videos from your cameras on your timeline in the SimpliSafe® Mobile App, you’ll need to ensure that “Motion Events” are turned ON within the motion detection settings.
Open the SimpliSafe® Mobile App on your phone or tablet
Select the Cameras tab at the bottom of the app
Choose the gear icon for Camera Settings in the upper right corner
Choose the camera you wish to make changes for
Select Motion Detection
Toggle Motion Events ON
Click Save in the upper right corner to save your settings before exiting
Help Center Article
•
Outdoor Cameras
Error: Update Software
Overview
The Wireless Outdoor Security Camera and Outdoor Security Camera Series 2 require a Base Station running the latest firmware. The “Update Software” error typically means that you need to update your Base Station’s firmware.
Not sure what version of the firmware is installed on your system? You can check the version at any time using the SimpliSafe® Mobile App.
Please note: Your system must be connected to Wi-Fi to receive firmware updates. You can learn more about connecting your system to Wi-Fi on our Help Centre.
How To Fix It
If your System is Running Firmware Below 2.15
For systems running a version of firmware below 2.15, you will need to manually update your system. You can do this using the SimpliSafe® Mobile App or your Keypad.
Using the SimpliSafe® Mobile App:
Open the SimpliSafe® Mobile App on your phone or tablet
You should see a tile on the Overview tab detailing there’s an “Update Available”
You may also manually check for updates using the following steps:
Choose My System from the bottom navigation bar
Select Base Station Settings
If an update is available, it will say so to the right of “Firmware”
Using the Keypad:
Press Menu
Enter your Master PIN
Select System Settings
Then, Check for Updates
If your System is Running Firmware Version 2.15 or Greater
For systems running firmware version 2.15 or greater, updates will occur automatically after you disarm your system and it has been disarmed for at least 10 minutes. This ensures that you are never without protection when your system updates and that you’re home during the update process. You’ll be able to tell that an update is running when you see an amber or orange-colored light circling the Base Station, similar to a “searchlight”. You can tell when an update occurred by checking the Message Centre within the SimpliSafe® Mobile App.
Help Center Article
•
Outdoor Cameras
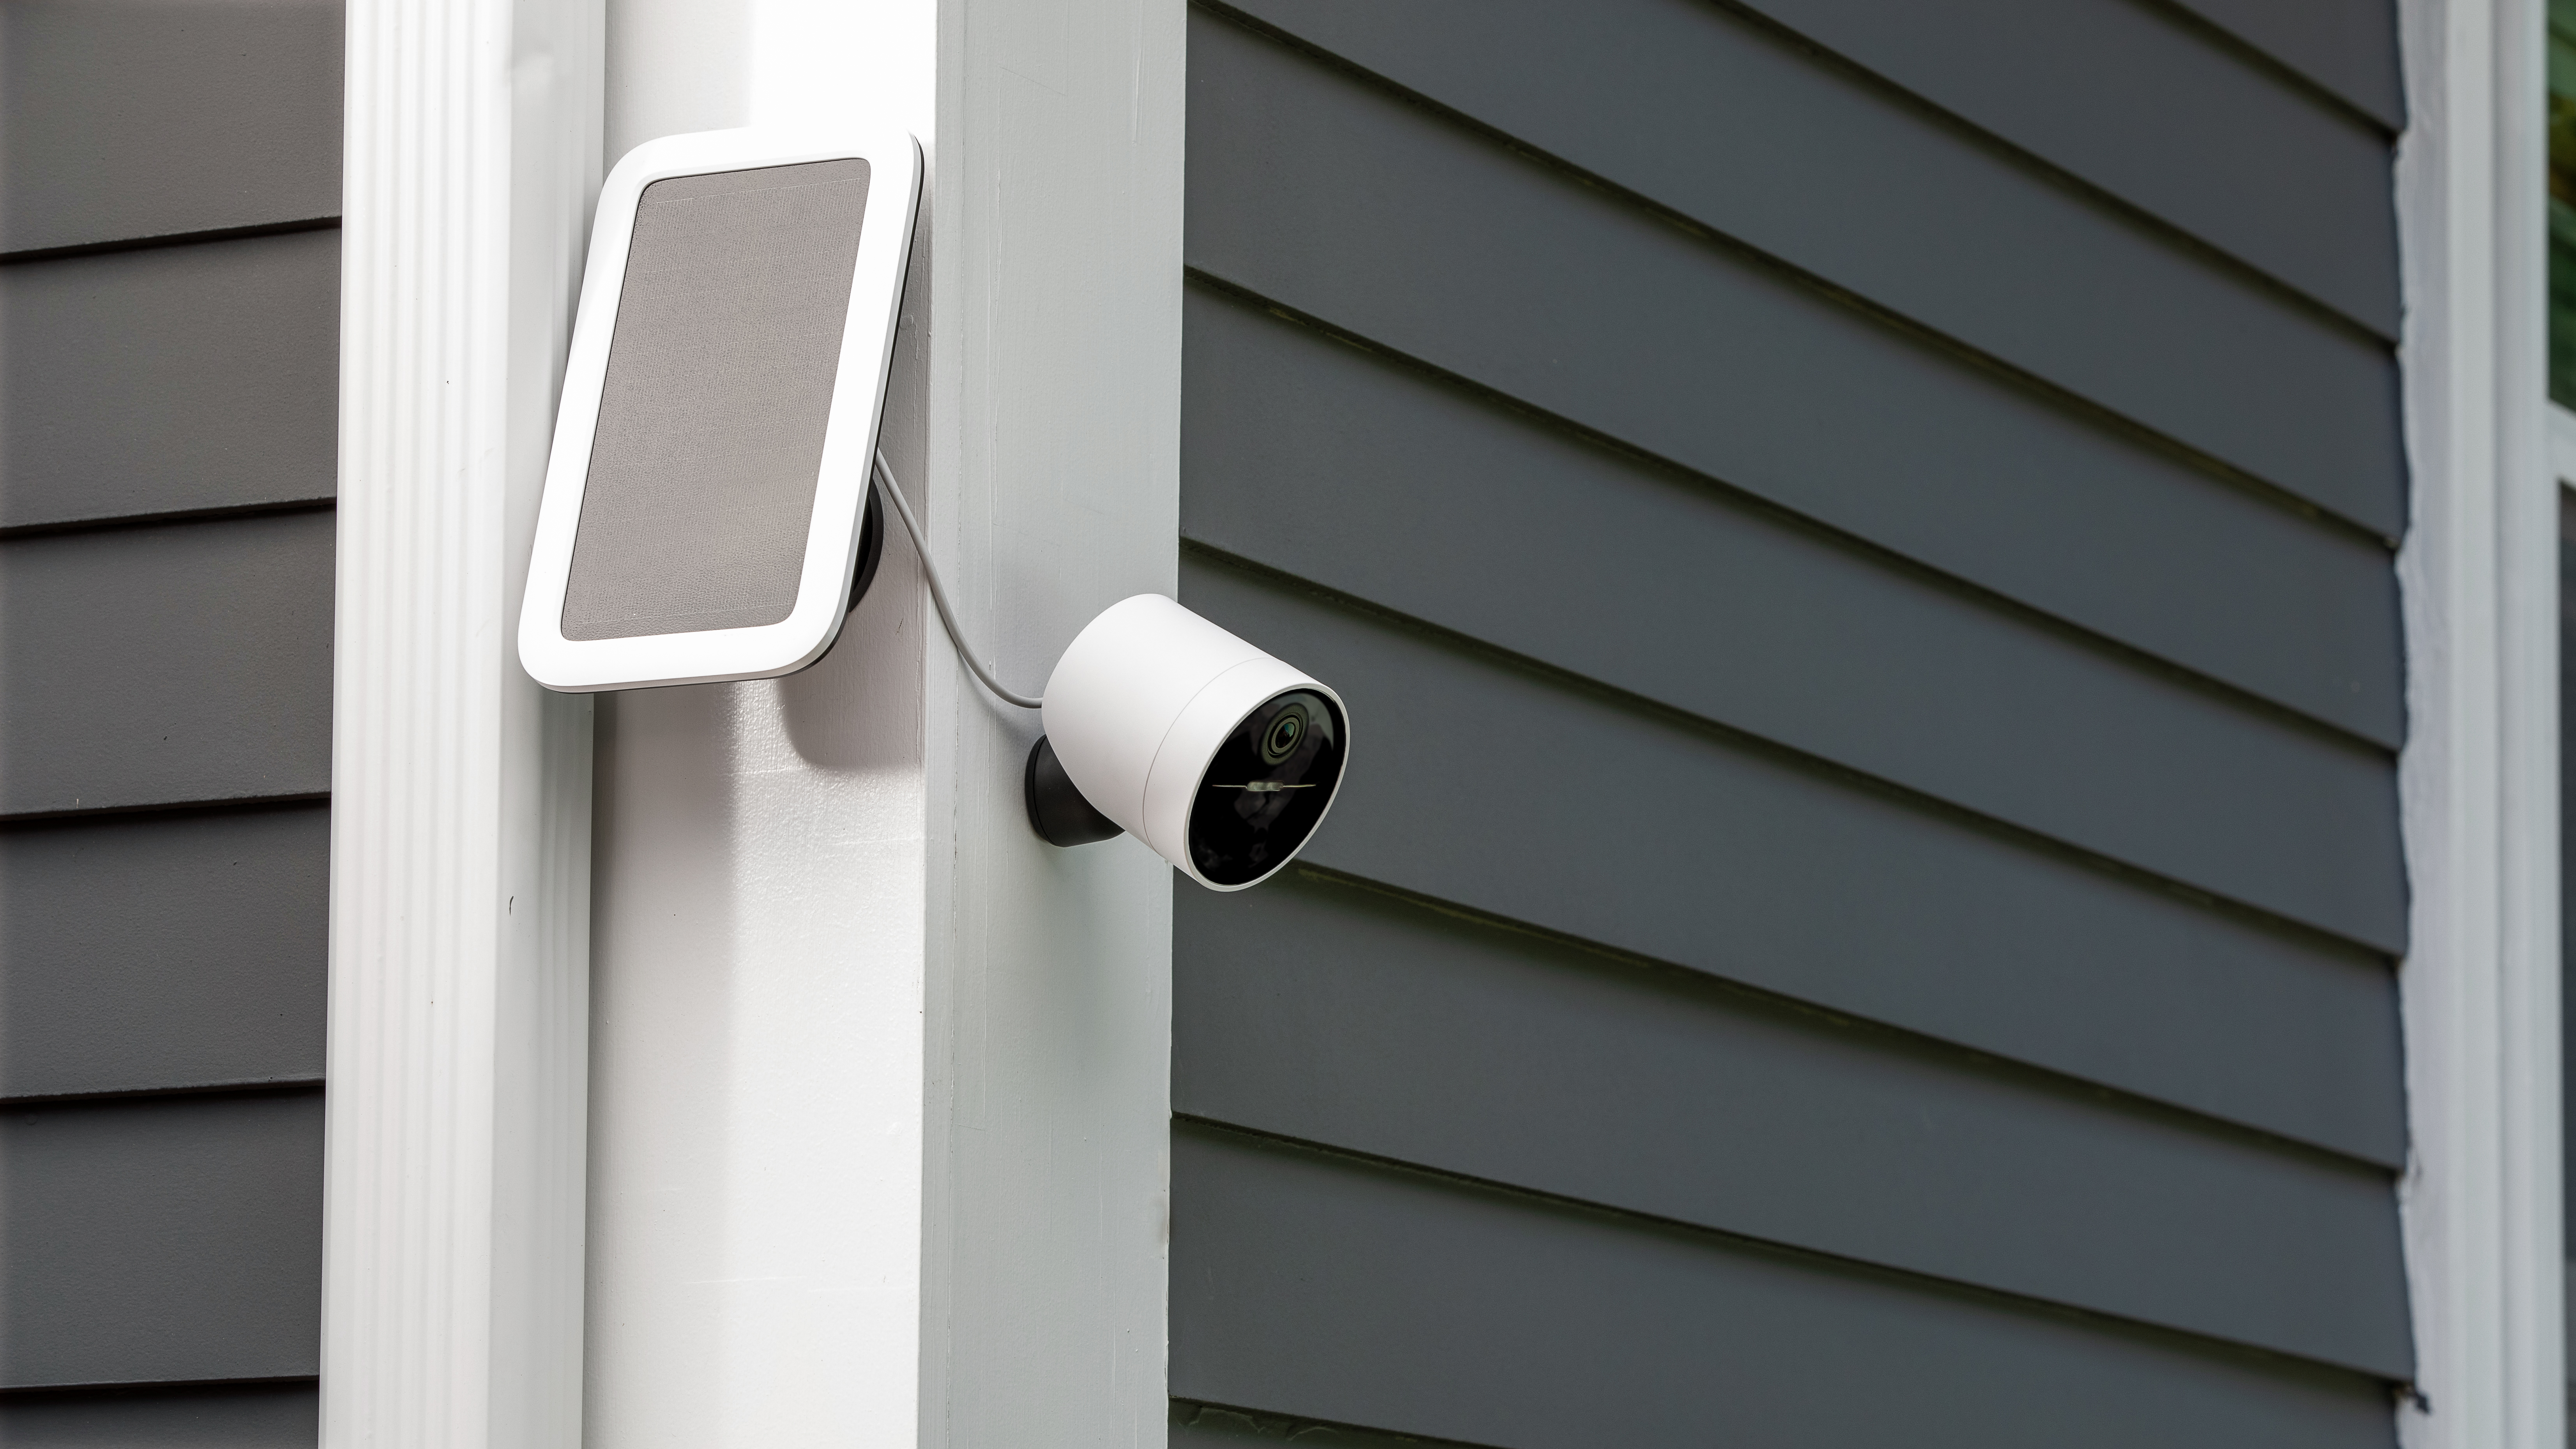
Outdoor Camera Solar Panel Accessory
With the Outdoor Camera Solar Panel, you can power your Outdoor Camera without the need to separately recharge or replace the battery—like a traditional wired outdoor security camera, while retaining install-anywhere convenience. With just 3 hours of direct sunlight per day, the water-resistant Solar Panel keeps your Outdoor Camera charged at all times.
Thanks to its 13 foot power cord, the Solar Panel doesn’t need to be installed in the same place as your camera. Simply run the cable to the Outdoor Camera and use the included cable management velcro sleeve to neatly tuck unused cable behind the solar panel.
Physically Installing Your Solar Panel
First, you’ll need to find a location within 13 feet of your Outdoor Camera. This should be a spot that receives at least 3 hours of direct sunlight per day.
Next, you’ll need the appropriate tools to install your Solar Panel.
If mounting on brick/stucco/stone surfaces:
Use a ¼” masonry drill bit to drill two pilot holes into the surface
Then, use the included anchors and screws to attach the Solar Panel to the wall
If mounting on wood or vinyl surfaces:
Screw the self-tapping screws directly into the wall using a handheld screwdriver
Wood surfaces generally do not require pre-drilled holes
After mounting the Solar Panel, use the omnidirectional mount to aim it towards the direction that will give it the most access to sunlight.
Finally, secure any excess power cord by wrapping it around the base of the Solar Panel, then using the cable management velcro straps to ensure the cord will not get tangled or caught by inclement weather or small animals.
Troubleshooting
The Solar Panel is designed to maintain your Outdoor Camera’s battery life, not to recharge it. If you find that your Solar Panel is not keeping your camera battery topped off, there are a few steps you can take to try and resolve this.
*The Outdoor Camera battery is only compatible with a SimpliSafe® Outdoor Camera Solar Panel, not with any third-party solar panel devices.
Help Center Article
•
Cameras
Why does my camera keep losing its Wi-Fi connection?
There are two main reasons that a camera may lose its Wi-Fi connection. It may be installed too far from your Wi-Fi router, or it may not have sufficient bandwidth.
If Your Camera Will Not Connect to Wi-Fi During Initial Setup
If you are having trouble connecting your camera to Wi-Fi during a first-time setup, we recommend making sure that your home network is configured to meet our system requirements.
Your Wi-Fi network must be broadcasting 2.4GHz
SimpliSafe® cannot connect to 5GHz networks
Your SSID and password cannot exceed more than 31 characters each
Your network must be configured as WPA2 or WPA3/2 Mixed Mode
WPA3 only networks are not compatible with SimplISafe® at this time
If Your Camera Will Not Connect After Its Setup
If your camera had previously been set up but is now failing to connect to your Wi-Fi network, the Connection Check tool in the SimpliSafe® mobile app will tell you if there are any issues between your network and camera.
How to Run a Connection Check:
Open the SimpliSafe® Mobile App
Tap on the Cameras tab on the bottom of the screen
Select the gear icon in the upper right corner
Choose your camera
Select Connection Check and follow the on-screen instructions to test your signal strength and upload speeds
Using your results, you can improve your camera’s connection with the tips below.
Camera Wi-Fi Requirements:
Signal strength should be above -55dBm. A lower number means a weaker connection between your camera and Wi-Fi router
If you have a low signal strength, try troubleshooting your Wi-Fi network
Upload speeds need to be above 2Mbps
If your upload speed is below 2Mbps, you may need to contact your internet service provider to upgrade your internet package.
If your upload speed is exactly 2Mbps, you should take these steps to improve your upload speed.
Help Center Article
•
Cameras
Camera Motion Detection by System Arming State
Overview
You can customise your SimpliSafe® cameras even further by changing the motion detection to coincide with your system’s arming state. This means you can now adjust when your camera records as it is directly tied to your system’s arming state.
For example, if you don’t want your camera to record when the system is set to OFF, but do want it to record when it is in AWAY mode, you can now control these settings.
Motion notifications are determined by your monitoring subscription. You can learn more about which service plans include push or SMS notifications on our Help Centre.
Supported Cameras
The following cameras are compatible with motion detection set by arming state:
Wireless Outdoor Security Camera
Outdoor Camera Series 2
Smart Alarm Indoor Camera
How to Change These Settings
To change your motion detection based on the arming state:
Open the SimpliSafe® Mobile App on your phone or tablet
Choose My System from the bottom navigation bar
Select Camera Settings
Tap on the camera you wish to manage
Under Camera Behavior, tap on your arming state to adjust the settings
Toggle ON or OFF Motion Detection, as needed
Choose SAVE in the upper right corner of the app to save your selections
NOTE: your camera will not record unless motion is detected in any arming state when the arming state is configured to detect motion.
Help Center Article
•
Cameras
Activity Zones for Cameras
Activity Zones are a great way to limit the number of motion detection alerts you receive from your camera inside and outside of your home. You’ll simply tap on the squares within your Motion Detection settings to exclude zones from triggering a motion event.

Supported Cameras
The following cameras support this functionality:
Outdoor Camera Series 2
Outdoor Camera
Smart Alarm Wireless Indoor Security Camera
Video Doorbell Pro
Setting Up Activity Zones
Activity Zones are managed under the Motion Detection menu, within the Camera Settings page of the SimpliSafe® Mobile App. You can follow these exact steps to navigate to that menu:
Open the SimpliSafe® App on your phone or tablet
Choose My System
Select Camera Settings
Tap on the supported camera from the list of available cameras
Choose Motion Detection
Scroll down to Activity Zone
Tap on the squares you wish to exclude from motion detection. The diagonal lines that appear over the square mean that motion will no longer be detected in that zone
Note: you can tap on the squares again to remove the exclusion
Choose SAVE in the upper right corner of the app to save your selections
Note: Video Doorbell Pro will ignore Activity Zones when All Motion is selected on the Motion Detection settings. You will need to choose People Only for Video Doorbell Pro in order for it to respect your Activity Zone exclusions.
Turning Off Activity Zones
If you ever need to turn off the Activity Zone exclusions, you can do so at any time from within the SimpliSafe® Mobile App.
Open the SimpliSafe® App on your phone or tablet
Choose My System
Select Camera Settings
Tap on the camera you wish to manage Activity Zones for
Select Motion Detection
Tap on the squares you wish to include in motion detection. The diagonal lines will disappear indicating that motion detection is now on for that zone
Choose SAVE in the upper right corner of the app to save your selections
Help Center Article
•
Cameras