Outdoor Camera Series 2 UK
Get the most out of your SimpliSafe system by getting answers to your questions and support for your devices.

Conversation List
Filter by
How To Check The Firmware Version of SimpliSafe® Devices
At SimpliSafe®, we are always working on our devices by releasing firmware and software updates for system-wide and device-specific improvements. If you are ever curious about the firmware that your system and cameras are running, take the steps below.
Checking the Base Station’s firmware
You can view which firmware version your Base Station is running using either the SimpliSafe® Mobile App or Keypad.
Using the SimpliSafe® Mobile App
Open up the SimpliSafe® Mobile App on your smartphone or tablet
Select My System from the navigation bar at the bottom of the screen
Choose Base Station Settings
Next to Firmware, you will see which version your system is running
Using the Keypad
Press the Menu button on your Keypad
Enter your Master PIN
Select System Settings
Scroll down to Diagnostics
Press the right arrow until you see Base Station
Next to Version, you will see what firmware your system is running
Checking a camera’s firmware
You can view your camera’s firmware in the SimpliSafe® Mobile App
Open up the SimpliSafe® Mobile App on your smartphone or tablet
Select My System from the navigation bar at the bottom of the screen
Choose Camera Settings
Select the camera you want to check
Scroll down to the bottom of the screen until you see Basic Info
Next to Software Version, you will see what firmware your camera is running
Related Articles
Help Center Article
•
Base Station
Outdoor Camera Solar Panel Accessory
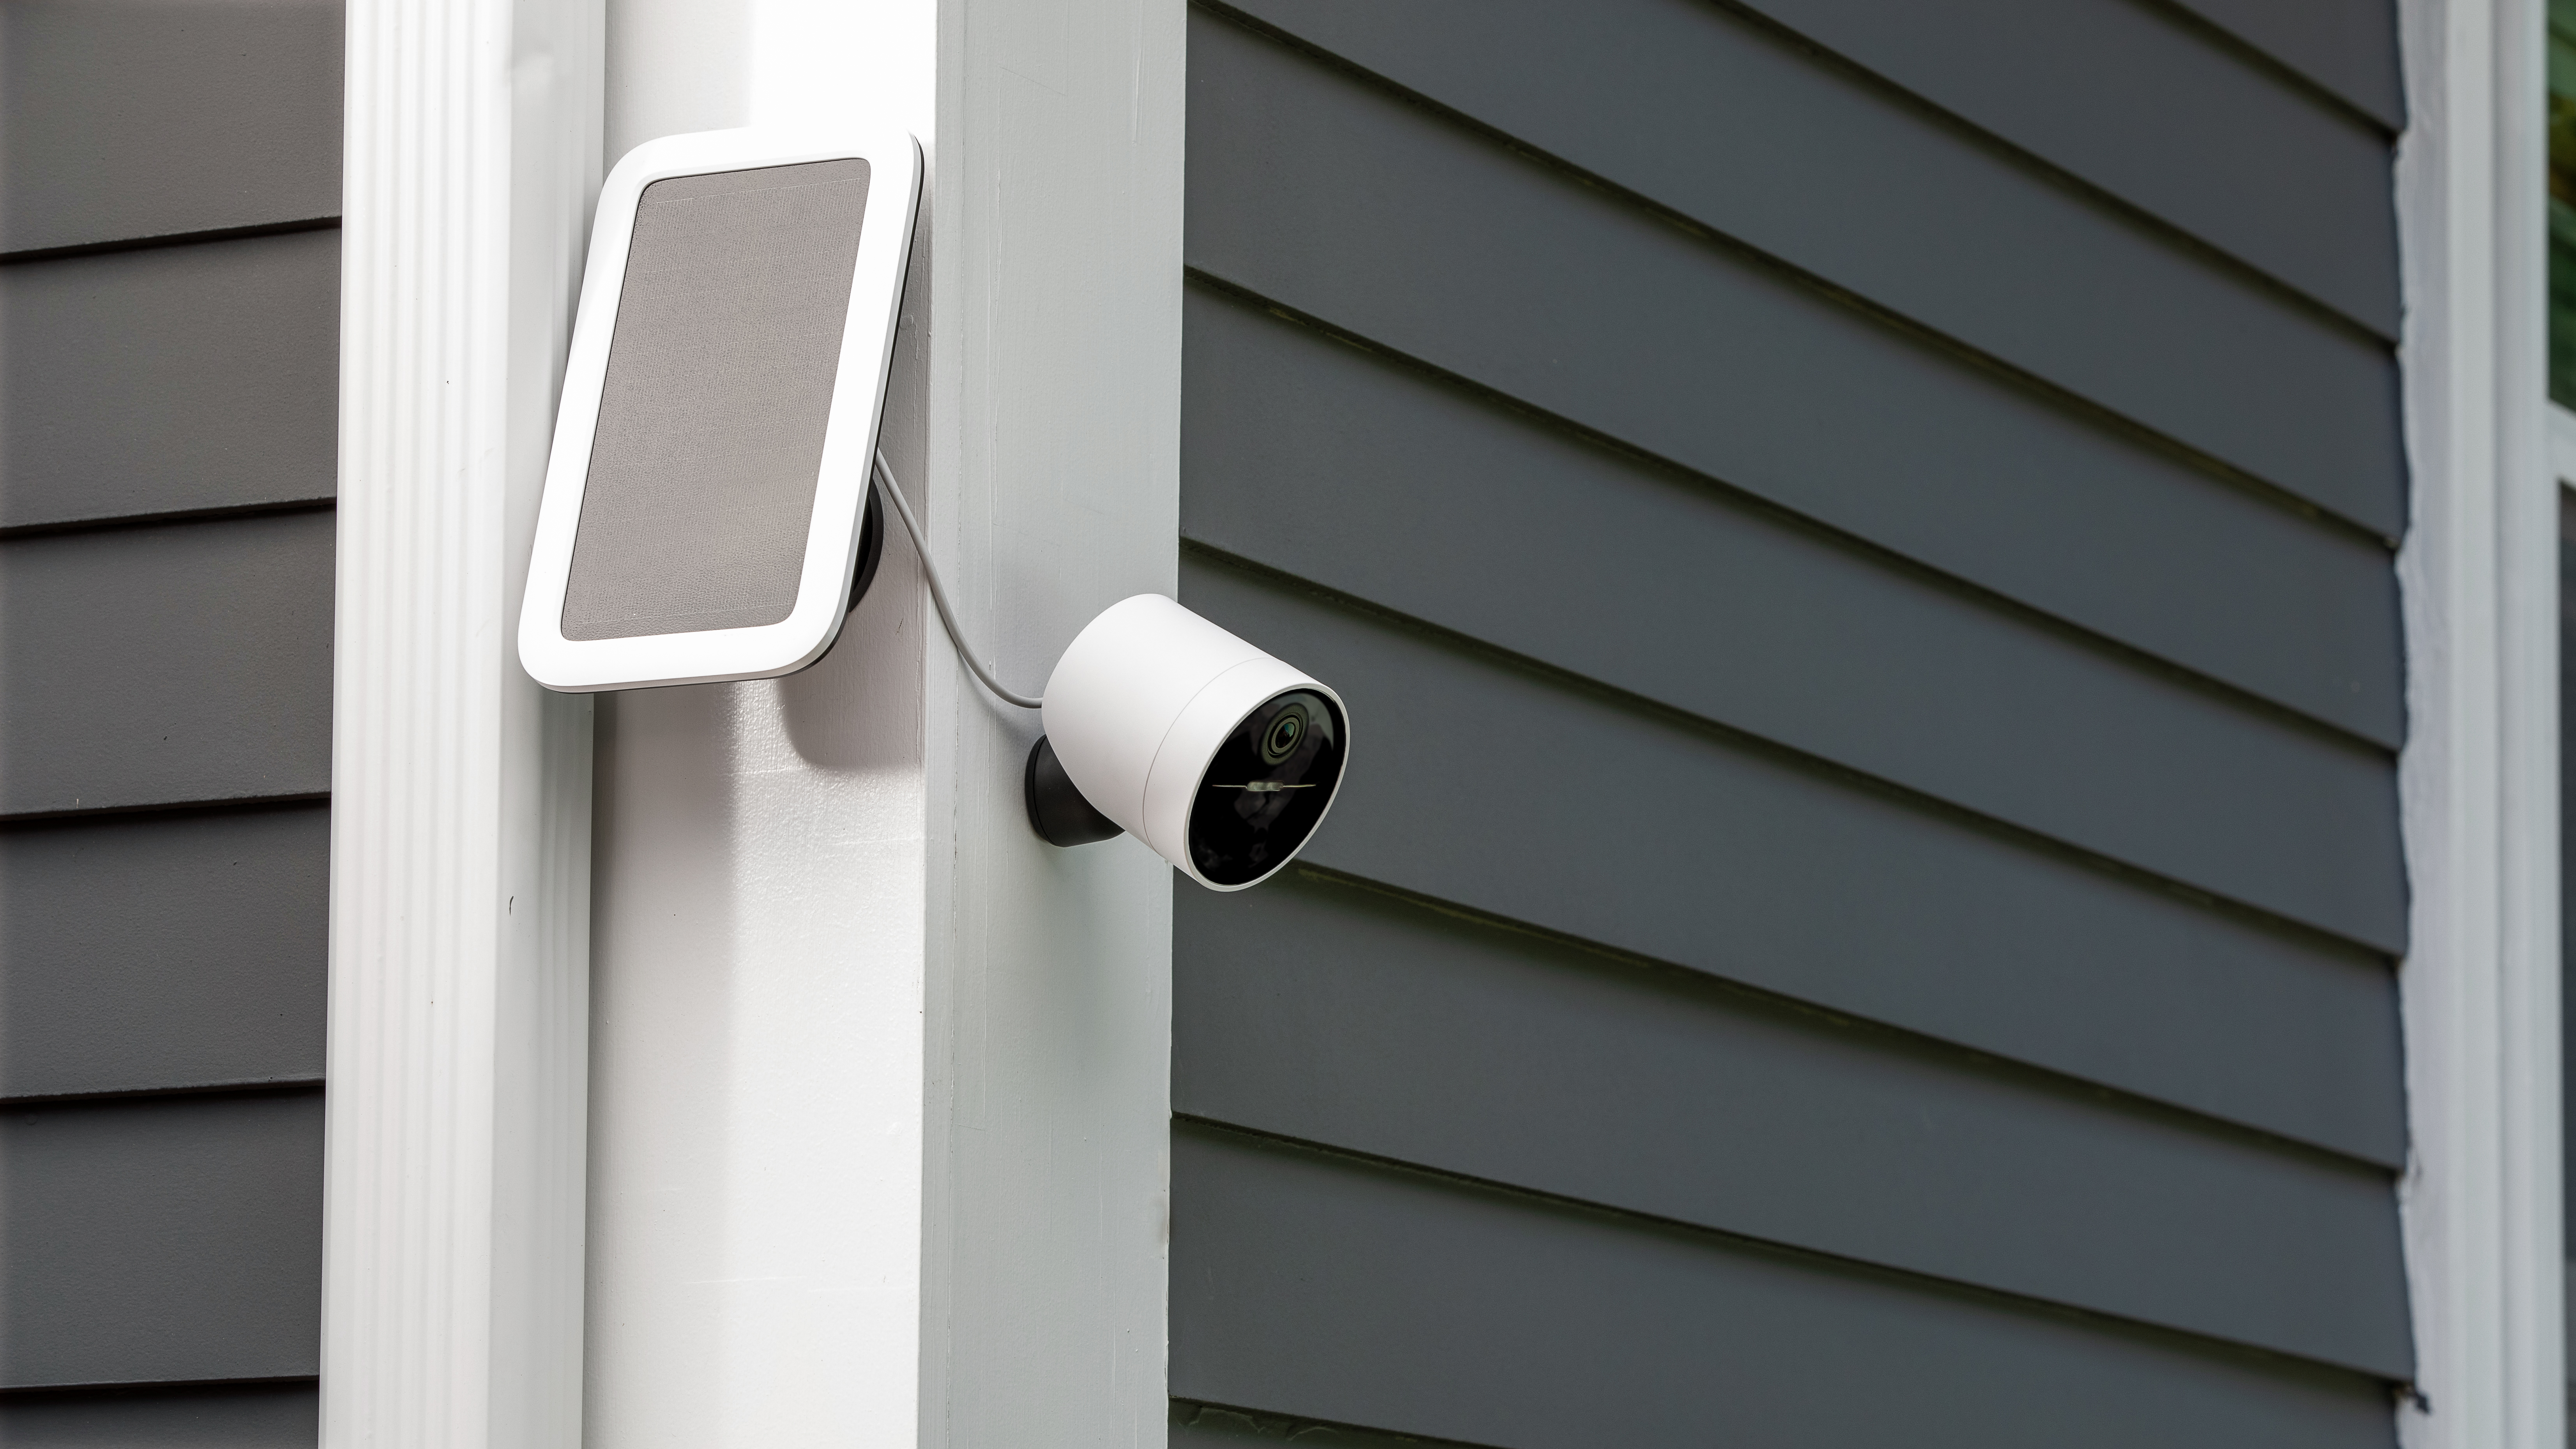
With the Outdoor Camera Solar Panel, you can power your Outdoor Camera without the need to separately recharge or replace the battery—like a traditional wired outdoor security camera, while retaining install-anywhere convenience. With just 3 hours of direct sunlight per day, the water-resistant Solar Panel keeps your Outdoor Camera charged at all times.
Thanks to its 13 foot power cord, the Solar Panel doesn’t need to be installed in the same place as your camera. Simply run the cable to the Outdoor Camera and use the included cable management velcro sleeve to neatly tuck unused cable behind the solar panel.
Physically Installing Your Solar Panel
First, you’ll need to find a location within 13 feet of your Outdoor Camera. This should be a spot that receives at least 3 hours of direct sunlight per day.
Next, you’ll need the appropriate tools to install your Solar Panel.
If mounting on brick/stucco/stone surfaces:
Use a ¼” masonry drill bit to drill two pilot holes into the surface
Then, use the included anchors and screws to attach the Solar Panel to the wall
If mounting on wood or vinyl surfaces:
Screw the self-tapping screws directly into the wall using a handheld screwdriver
Wood surfaces generally do not require pre-drilled holes
After mounting the Solar Panel, use the omnidirectional mount to aim it towards the direction that will give it the most access to sunlight.
Finally, secure any excess power cord by wrapping it around the base of the Solar Panel, then using the cable management velcro straps to ensure the cord will not get tangled or caught by inclement weather or small animals.
Troubleshooting
The Solar Panel is designed to maintain your Outdoor Camera’s battery life, not to recharge it. If you find that your Solar Panel is not keeping your camera battery topped off, there are a few steps you can take to try and resolve this.
As mentioned above, the Solar Panel will maintain your battery's current level. If your Outdoor Camera’s battery is too low, the Solar Panel may have trouble keeping it topped up. You’ll want to charge the battery for your Wireless Outdoor Security Camera or Outdoor Camera Series 2 for at least 6 hours, to get it to 100% battery. You’ll know it’s fully charged once all 3 lights are illuminated and no longer pulsing.

After it’s charged, you will also want to ensure that you are replacing the battery in the correct orientation. Placing the battery into the Outdoor Camera incorrectly will result in it not powering on. Additionally, the Solar Panel will only work with a charged battery inserted - it is not designed to solely power the camera.
Once your camera is powered back on, you can try using the Solar Panel and seeing if the battery stays topped off or depletes. If the battery is still depleting from there, move on to step 2.
The cable must be placed securely into your Outdoor Camera in order for the Solar Panel to work. This does require some light force to secure the connection, so you may need to use both thumbs, or the palm of your hand to apply even pressure to lock it into place. Failure to create a proper seal can expose your Outdoor Camera’s charging port to the elements - and has the potential to damage the camera and Solar Panel.
The Solar Panel must receive at least 3 hours of direct sunlight a day to maintain your current battery level. The Solar Panel comes equipped with a 13-foot cable, so you can use it in a location that gets more sunlight versus mounting it directly next to your camera.
Dust, debris, water, and snow can impact the performance of the Solar Panel. If you notice that your Outdoor Camera’s battery is depleting, we recommend wiping the Solar Panel with a clean, dry cloth.
The Solar Panel is designed to maintain your camera’s battery level between temperatures ranging from 0 degrees Celsius to 49 degrees Celsius. The Solar Panel will not charge outside of that temperature range.
*The Outdoor Camera battery is only compatible with a SimpliSafe® Outdoor Camera Solar Panel, not with any third-party solar panel devices.
Help Center Article
•
Cameras
Why does my camera keep losing its Wi-Fi connection?
There are two main reasons that a camera may lose its Wi-Fi connection. It may be installed too far from your Wi-Fi router, or it may not have sufficient bandwidth.
If Your Camera Will Not Connect to Wi-Fi During Initial Setup
If you are having trouble connecting your camera to Wi-Fi during a first-time setup, we recommend making sure that your home network is configured to meet our system requirements.
Your Wi-Fi network must be broadcasting 2.4GHz
SimpliSafe® cannot connect to 5GHz networks
Your SSID and password cannot exceed more than 31 characters each
Your network must be configured as WPA2 or WPA3/2 Mixed Mode
WPA3 only networks are not compatible with SimplISafe® at this time
If Your Camera Will Not Connect After Its Setup
If your camera had previously been set up but is now failing to connect to your Wi-Fi network, the Connection Check tool in the SimpliSafe® mobile app will tell you if there are any issues between your network and camera.
How to Run a Connection Check:
Open the SimpliSafe® Mobile App
Tap on the Cameras tab on the bottom of the screen
Select the gear icon in the upper right corner
Choose your camera
Select Connection Check and follow the on-screen instructions to test your signal strength and upload speeds
Using your results, you can improve your camera’s connection with the tips below.
Camera Wi-Fi Requirements:
Signal strength should be above -55dBm. A lower number means a weaker connection between your camera and Wi-Fi router
If you have a low signal strength, try troubleshooting your Wi-Fi network
Upload speeds need to be above 2Mbps
If your upload speed is below 2Mbps, you may need to contact your internet service provider to upgrade your internet package.
If your upload speed is exactly 2Mbps, you should take these steps to improve your upload speed.
Help Center Article
•
Cameras
Outdoor Security Camera Series 2 LED Status Light Colors
The status light located on the front of your Outdoor Security Camera Series 2 indicates key information about your camera. At a glance, it can tell you if the camera is recording or isn’t connected to Wi-Fi. The chart below shows which colors you can see on your Outdoor Camera Series 2 and what they mean.
LED Color
State/Speed
Activity
Blue
Blink
Live streaming;
Motion-triggered recording;
User-triggered recording
Blue
Solid/Steady
Motion detected, Setup success
Blue
Pulse
2-way talk (homeowner)
Red
Blink
Low battery (only shown when battery first inserted)
White
Blink
Firmware update (only during setup)
White
Solid
Booting up
White
Pulse
Ready to setup
Help Center Article
•
Outdoor Camera Series 2 UK
Outdoor Security Camera Series 2 Installation Guide
Overview
The Outdoor Security Camera Series 2 is a battery-operated security camera that boasts AI-powered motion detection to help identify potential threats outside your home. Its rugged design holds up to the elements, with an IP65 water-resistant and dustproof rating. The Outdoor Camera Series 2 also features 1080p HD video capture with a 140-degree field of view, all while hosting a built-in 90 dB siren.
Looking to purchase an Outdoor Camera Series 2? You can find it available for purchase on our website.
Requirements
A Gen 3 SimpliSafe® System
A 2.4GHz Wi-Fi connection meeting our network specifications
Optional: The Outdoor Camera Permanent Mount , Outdoor Camera Power Cable
Before Getting Started
Before installing your Outdoor Security Camera Series 2, you’ll need a Gen 3 SimpliSafe® System running the latest firmware version. You can check for any updates to your system using the SimpliSafe® Mobile App.
You’ll also want to charge the battery for your Outdoor Camera using the included USB charging cable and your own USB power adapter that outputs 7.5W minimum. It can take up to 6 hours to fully charge your battery.
You should also remove the protective film on the face of the Outdoor Camera Series 2 to ensure video quality is not impacted.
What’s in the Box?
Outdoor Security Camera Series 2
Rechargeable Battery
USB Battery Charging Cable
Magnetic Mount
Mounting Hardware
What You’ll Need
A USB Power Adapter (7.5W minimum)
Phillips Head Screwdriver
Optional: Ladder or Step Stool
Optional: Power Drill
Completely Charge the Outdoor Camera’s Battery
If you have not done so already, you will need to charge the Outdoor Camera’s battery completely before installing it, even if you intend on plugging the camera into a power cable.
Plug the micro USB end of the included charging cable into the Outdoor Camera’s battery and the USB end of the cable into an adapter that outputs 7.5W minimum (this adapter is not included)
Once plugged in, the LED lights on the battery will begin to blink to indicate that the camera is charging
Charge the battery for at least 6 hours, or until all three lights on the battery are solid
Add the Outdoor Camera in the SimpliSafe® Mobile App
Open the SimpliSafe® Mobile App on your smartphone or tablet
Navigate to the three-bar menu on the upper left corner and select Add Device or Camera
Select Cameras from the list of available products, and then Outdoor Camera Series 2
Assemble the Outdoor Camera
After the Outdoor Camera’s battery has been charged completely, you will need to insert the battery in the camera.
Remove the camera’s lens by twisting it counterclockwise
Insert the battery so the metal contacts on it are facing upwards and align with the contacts inside the camera
Place the camera lens back on and twist it clockwise until it clicks into place
You’ll know that the Outdoor Camera has been assembled properly when it chimes and begins to flash white
Outdoor Camera Isn’t Flashing White?
If the Outdoor Camera doesn’t begin to flash white, it could be due to a few reasons. Either the battery isn’t charged, the battery was inserted incorrectly, or the camera’s lens was not twisted on all the way.
First, remove the battery from the Outdoor Camera and connect it to power again by using the included USB power cable and your own power adapter. If the battery is fully charged, all three LED lights will be solid.
Once you have confirmed that all 3 lights are solid on the battery, reinsert it into the camera, making sure that the charging contacts are facing up and the battery tab is facing out towards you. Then twist the lens back on the camera until it clicks into place.
If the light still does not flash white after reassembling the camera, you will need to reset the Outdoor Camera.
How to Pair the Outdoor Camera to Your System
Firmly press and release the pairing button on the back of the camera
The Base Station will announce, “Camera added”
On the mobile app, choose a name for the camera by selecting one of our pre-populated names, or select Custom Name at the bottom of the screen to input your own
Connect the Outdoor Camera to Wi-Fi
By default, the SimpliSafe® App will prompt you to connect the Outdoor Camera to the same Wi-Fi network as your Base station
You may choose either “Yes, Connect” to connect it to this network, or “Choose a Different Network” to select another one
After your Outdoor Camera has connected to Wi-Fi, it will check for and apply any available updates
Outdoor Camera Didn’t Connect to Wi-Fi?
If your Outdoor Camera did not connect to your Wi-Fi network, please refer to the Camera Can’t Connect to Wi-Fi During Setup article.
Choose a Location for the Outdoor Camera
Next, you will be prompted to move your Outdoor Camera to its desired location and test its connection there before mounting the camera. This allows you to ensure your camera has a strong connection, or move your camera to a different location where the connection is stronger.
When finding a location for the Outdoor Camera, we recommend the following:
The Outdoor Camera should be mounted 6.5 feet off the ground and angled 30° down
If mounting above 6.5 feet, we recommend using the permanent mount to secure the camera to the surface
The Outdoor Camera’s motion sensor is most sensitive to side-by-side movement, so choose a location where subjects are likely to move horizontally across its field of view
Make sure the Outdoor Camera’s field of view is not obstructed by branches, flags, or other objects
Check the Outdoor Camera’s Connection
After finding a location for the Outdoor Camera, tap “Begin Test” in the SimpliSafe® App to test its Wi-Fi upload speed and signal strength.
Good Results
If your results were good, that indicates that the Outdoor Camera should stream and record video smoothly from its location. Please move forward to mounting the camera.
Poor Signal Strength, Good Upload Speed
This result unusually indicates that the camera is not in range of the Wi-Fi router. Try moving the router closer to the camera or purchase a Wi-Fi extender.
Poor Signal Strength, Poor Upload Speed
This result indicates that the camera is not in range of the Wi-Fi router, and the Wi-Fi is not providing the minimum 2 Mbps upload speed. Move the camera closer to the router and try live streaming again. If this helps, you can either move the router closer to the camera or purchase a Wi-Fi extender.
You may also need to contact your internet service provider to upgrade your package to one that includes higher upload speeds.
Good Signal Strength, Poor Upload Speed
SimpliSafe® cameras require 2-3 Mbps per camera. If you have multiple cameras on your system, multiply the number of cameras by 2 to determine the minimum upload speed required.
To improve your upload speed, you may either contact your internet service provider to upgrade your package, or move other Wi-Fi-enabled devices to a different network.
How to Mount the Outdoor Camera
When installing the Outdoor Camera, you may mount it using either the included magnetic mount or the permanent mount. If you are installing the permanent mount, please refer to the Outdoor Camera Permanent Mount Overview and Installation Guide.
Remove the mounting plate from the magnetic dome by turning it counterclockwise
If your are installing the Outdoor Camera on a stone, brick, or stucco surface, drill 2 pilot holes into the surface using a 3/16-inch drill bit and gently tap the included wall anchors into the holes using a hammer or mallet
Attach the mounting plate to the surface using the provided screws and your own Phillips head screwdriver
Twist the magnetic dome back on the mounting plate until you hear it click into place
Place the camera on the magnetic mount
How to Power the Outdoor Camera
After mounting the Outdoor Camera, you will be prompted to install your Outdoor Power Cable or Solar Panel to keep the battery charged, or you can choose to run the Outdoor Camera off its battery power.
How to Install the Power Cable
Lift the cover off of the charging port that is located on the back of the Outdoor Camera
Firmly plug the micro USB end of the Power Cable into the camera, making sure that the micro USB is flush to the camera
Snap the included strain-relief clip to the cable at the top near the camera
Screw the clip into the surface near your camera, approximately 6 inches away
If you are installing the Outdoor Camera on a brick, stone, or stucco surface, you will need to drill a single pilot hole using a 1/4 inch masonry drill bit and insert the wall anchor first
Plug the power adapter into an outdoor-rated power outlet with a waterproof cover
How to Install the Solar Panel
If you are powering the Outdoor Camera with the Solar Panel, please refer to the Solar Panel Installation Guide in the Help Centre.
Fine-Tune the Outdoor Camera’s Position
Next, you’ll want to check your camera’s view to ensure that it is capturing your desired area. Tap the “Check Live View” button in the app to see your camera’s live stream. From there, you can adjust your camera’s angle to ensure it is capturing the area you want to watch over. For the best performance, the camera should be angled 30° down.
Related Content
Help Center Article
•
Outdoor Camera Series 2 UK
Activity Zones for Cameras
Activity Zones are a great way to limit the number of motion detection alerts you receive from your camera inside and outside of your home. You’ll simply tap on the squares within your Motion Detection settings to exclude zones from triggering a motion event.

Supported Cameras
The following cameras support this functionality:
Outdoor Camera Series 2
Outdoor Camera
Smart Alarm Wireless Indoor Security Camera
Video Doorbell Pro
Setting Up Activity Zones
Activity Zones are managed under the Motion Detection menu, within the Camera Settings page of the SimpliSafe® Mobile App. You can follow these exact steps to navigate to that menu:
Open the SimpliSafe® App on your phone or tablet
Choose My System
Select Camera Settings
Tap on the supported camera from the list of available cameras
Choose Motion Detection
Scroll down to Activity Zone
Tap on the squares you wish to exclude from motion detection. The diagonal lines that appear over the square mean that motion will no longer be detected in that zone
Note: you can tap on the squares again to remove the exclusion
Choose SAVE in the upper right corner of the app to save your selections
Note: Video Doorbell Pro will ignore Activity Zones when All Motion is selected on the Motion Detection settings. You will need to choose People Only for Video Doorbell Pro in order for it to respect your Activity Zone exclusions.
Turning Off Activity Zones
If you ever need to turn off the Activity Zone exclusions, you can do so at any time from within the SimpliSafe® Mobile App.
Open the SimpliSafe® App on your phone or tablet
Choose My System
Select Camera Settings
Tap on the camera you wish to manage Activity Zones for
Select Motion Detection
Tap on the squares you wish to include in motion detection. The diagonal lines will disappear indicating that motion detection is now on for that zone
Choose SAVE in the upper right corner of the app to save your selections
Help Center Article
•
Cameras
How to Find the Serial Number for Your SimpliSafe® Device or Camera
During troubleshooting or for account verification purposes, you may be required to identify the serial number for a product within your system. You can easily find the serial number for your devices or cameras within the SimpliSafe® Mobile App.
Locating the Serial Number for your Base Station in the SimpliSafe® App
Open the SimpliSafe® Mobile App on your phone or tablet
Tap on the three-bar menu (hamburger menu) in the upper left corner of the app screen
Choose Help & Support
At the top of the menu you’ll see an Account Number
This is the serial number for your Base Station
Locating the Serial Number for your Devices or Cameras in the SimpliSafe® App
Open the SimpliSafe® Mobile App on your phone or tablet
Choose My System from the bottom navigation bar
Tap on the Device or Camera you wish to manage
Scroll down to Basic Info
Your device or camera’s Serial Number will be listed here
There may be a point where you need to find the serial number on the physical device itself. The rest of the article will guide you through finding the serial number for each product. Click to expand the collapsible section for the product type you wish to learn more about.

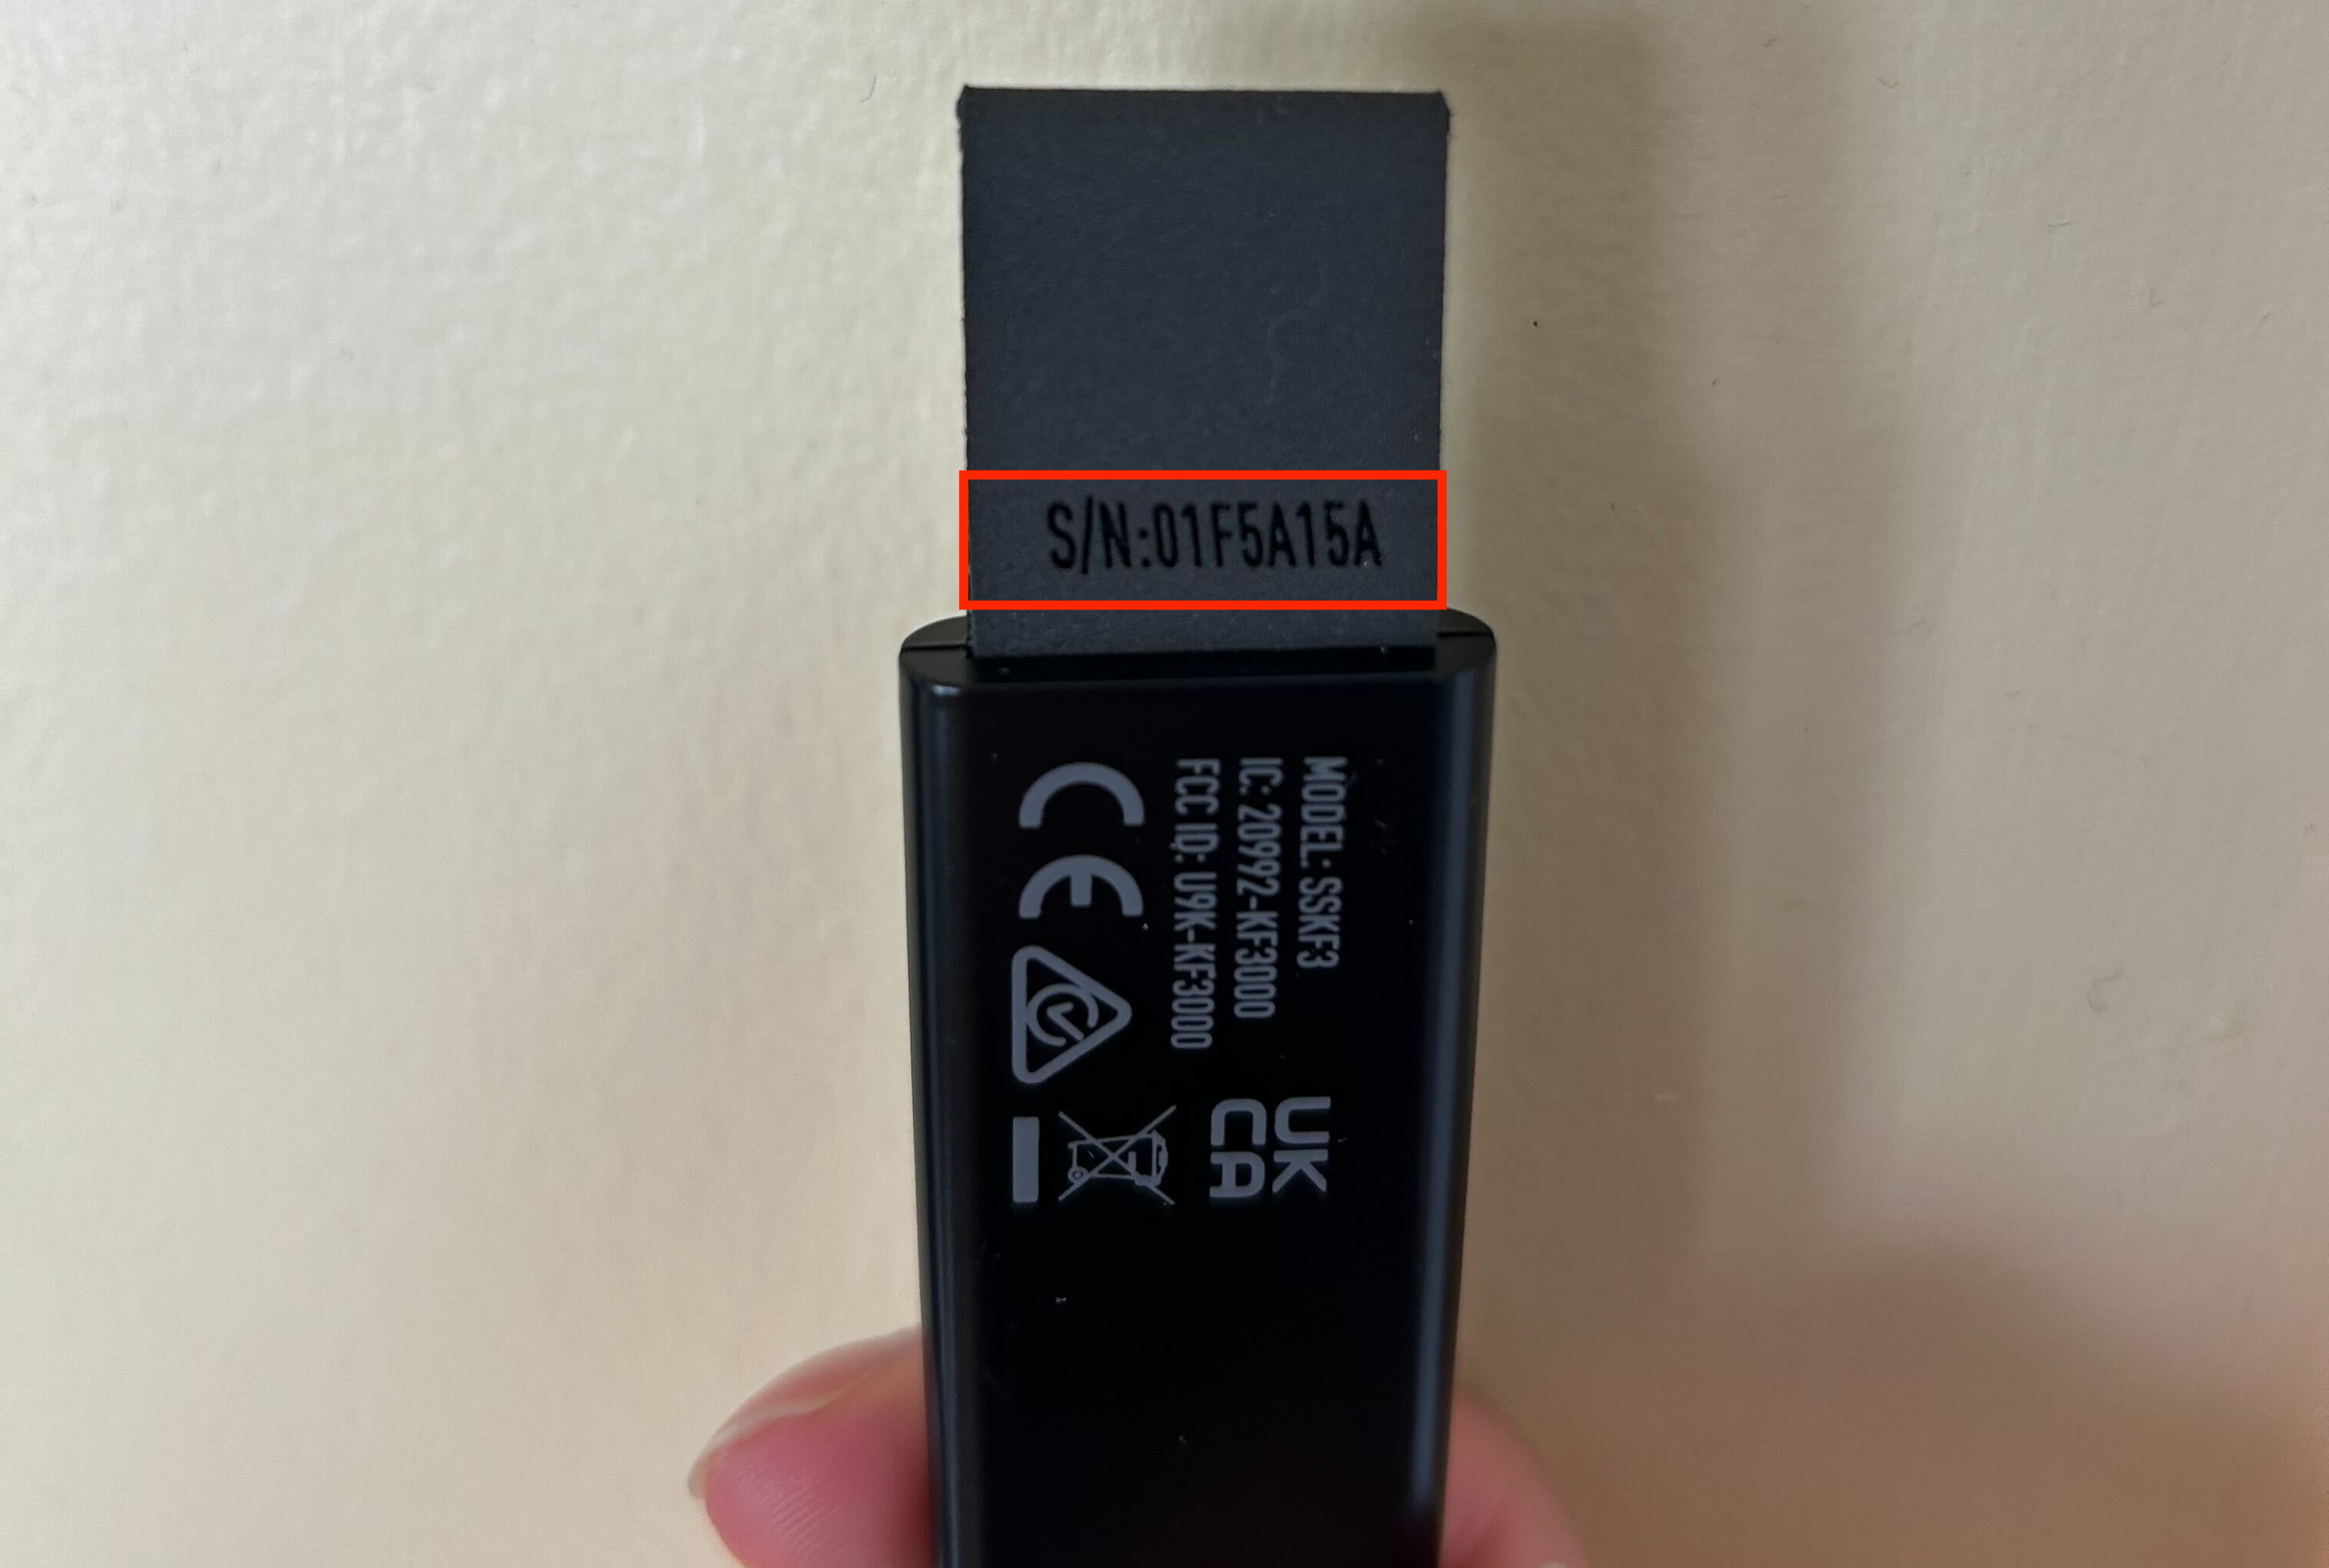
The serial number for the Key Fob is found on the tab at the bottom of the device. Flip the Key Fob over so its back is facing you and look at the tab to find its number.

The serial number for the Base Station can be found on the bottom of the unit, right underneath the QR code.

The serial number for the Keypad can be found underneath the battery cover, at the bottom of the device. Simply slide the Keypad off the bracket (battery cover), then turn it around and look towards the bottom of the battery compartment to see it. The serial number will be listed above the manufacturing date.
Entry Sensor

To find the serial number on the Entry Sensor, simply remove the Entry Sensor from its bracket. To remove it from the bracket, locate the pairing button on the sensor, then slide the sensor up towards the button. Once the sensor has been removed from the bracket, look at the battery and the serial number will be right above it.
Motion Sensor Gen 1

The serial number for the Motion Sensor Gen 1 is located right above the sensitivity slider. To expose the battery compartment for viewing, gently grip the Motion Sensor and slide it up and off its bracket. You may need to wiggle it or use light force to push the sensor off the bracket. Once removed, look for the “sensitivity” embossed on the plastic. The serial number will be above it.
Motion Sensor Gen 2

The serial number for the Motion Sensor Gen 2 is located on the back side of the sensor in the upper right corner underneath the QR code. To locate it, remove the Motion Sensor Gen 2 from its’ bracket, by either wiggling it side to side then pushing up towards the pairing button. You may need to use light force to accomplish this. Once the battery is exposed, you’ll find the serial number in white text underneath the QR code.
Glass Break Sensor

The serial number for the Glassbreak Sensor is located above the sensitivity slider on the back of the device. To expose this area and the battery compartment, simply slide the Glassbreak Sensor off its bracket by wiggling it back and forth then up towards the pairing button. You may need to use light force to accomplish this. Once exposed, locate “sensitivity” embossed in the plastic, and you’ll find the serial number right above that.
Panic Button

The serial number for the Panic Button is located within the battery compartment for the product. To expose the battery compartment, slide the front of the Panic Button up and off its bracket - being careful not to press the Panic Button during this process! Once exposed, you’ll find the serial number at the bottom of the device.
Extra Siren

The serial number for the Extra Siren can be found on the back of the device, underneath the bracket. To remove the Extra Siren from the bracket, simply slide it up and off the bracket. You may need to use light force to accomplish this. You do not need to remove the battery cover to see the serial number. You can find it at the bottom of the product, next to the QR code or in between the two screws at the bottom of the product.
Temperature Sensor

The serial number for the Temperature Sensor (Freeze Sensor) can be found within the battery compartment on the device. Simply slide the product off its bracket by wiggling it side to side then pushing up towards the pairing button on the product. You may need to use light force to accomplish this. Once the sensor is removed from its bracket, you can locate the serial number next to the QR code, at the bottom of the battery compartment.
Water Sensor

The serial number for the Water Sensor is within the battery compartment. To expose this, you’ll need to twist the Water Sensor base and top apart from one another, rotating it counterclockwise. Once they are separated, you’ll find the serial number below the battery, opposite of the QR code. If you need to reassemble the Water Sensor, line up the arrow on the top and bottom pieces, then twist them back together. They should seamlessly rotate to create a water-tight seal, so do not apply pressure or force them to go together if the arrows are not lined up.
Smoke Detector

The serial number for the Smoke Detector can be found on the outside of the device, on a sticker that denotes “S/N:” followed by a string of numbers and letters. You may or may not need to remove the Smoke Detector from its bracket to view the serial number. If you need to remove it from its bracket, simply twist it counterclockwise.
To reassemble the Smoke Detector, twist the detector back onto the bracket moving it clockwise. It should click into place once secured. If it’s not fully attached to the bracket, it could result in a tampering error, which can cause your Base Station to beep repeatedly, signifying the trouble signal.
Outdoor Camera Series 2

The serial number for the Outdoor Camera Series 2 is located on the back of the camera lens (or cap, as we call it). To remove the lens from the body of the camera, simply rotate the cap clockwise. Then, turn over the cap to expose the product information. You’ll find the serial number underneath the QR code, in white text on the black background.
Outdoor Camera

The serial number for the Outdoor Camera is located on the back of the camera lens (or cap, as we call it). To remove the lens from the body of the camera, simply rotate the cap clockwise. Then, turn over the cap to expose the product information. You’ll find the serial number to the left of the QR code, in white text on the black background.
Video Doorbell Pro

The serial number for the Video Doorbell Pro can be found on the back of the device. To remove the Video Doorbell Pro to expose the serial number, you’ll need to remove the security screw from the bottom of the device, using a T5 Torx Screwdriver. Once the screw has been removed, gently remove the Video Doorbell Pro faceplate from the bracket. Flip the camera over, and you’ll find the serial number underneath the Model Number, just to the right of the QR code.
Smart Alarm Wireless Indoor Security Camera

The serial number on the Smart Alarm Wireless Indoor Security Camera can be found on the backside of the camera, right underneath the QR code.
SimpliCam® Wired Indoor Security Camera

The serial number for the SimpliCam® Wired Indoor Security Camera can be found on the back of the SimpliCam®. There is a white sticker towards the top, and you’ll find the serial number underneath the Model Number to the right of the QR code.
Help Center Article
•
Product Support